How to Charge Solar Light
It's no secret that solar power is on the rise.
In fact, in 2013, solar energy made up a whopping 1% of all electricity generated in the US. This was enough to provide power for over 200,000 households! But as so many people are switching to solar, it's essential to know how to charge your lights with this new energy source. Here's our step-by-step guide:
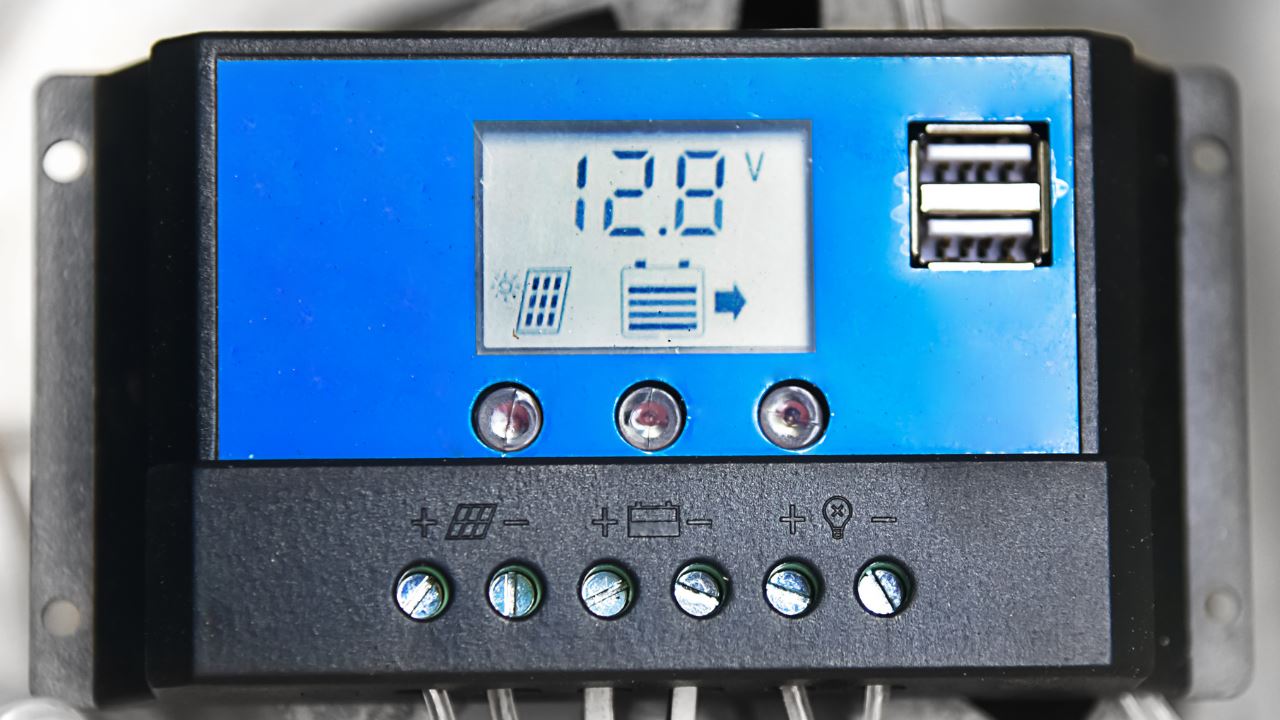
1) Choose a solar panel and place it where there is direct sunlight and an electrical outlet nearby
2) Connect the panels to your battery with a long cable
3) Replace your existing light bulb with either CFL or LED bulbs which use less power than traditional incandescent bulbs. That's it!
Charging Your Solar Lights
Charging your solar lights is the easiest part of the process. The chargers are designed to be lightweight and compact. They have a hook on one end, making it easy to hang them up in any environment.
All you have to do is connect your batteries via the wires that come with them (see "batteries" section), and charge them overnight. Then, in the morning, they'll be ready to use.
How to Use Solar Lights?
Solar panels work best in direct sunlight, so decide where to place them to get the most power. Next, connect the solar panel to the battery with the solar panel cable. Finally, replace the existing light bulb with a more powerful CFL or LED bulb and plug it into your solar-powered system.
How Do Solar Lights Work?
A well-made solar light contains an array of about five 1/2" wide cells that turn sunlight, moonlight, or even indoor lighting into electricity. Within each cell are two semi-conductors that look like little pieces of shiny metal. When light hits the solar cells, it excites the electrons in those metal pieces and jumps across the other part. The flow of electrons creates an electric current that eventually reaches a circuit board where a diode prevents the electricity from flowing back to the cell.
How to Choose the Right Size Solar Panel for Your Needs
Solar panels are usually rated by wattage output, ranging from 1 watt (very low) to over 200 watts (high). The more watts produced by a solar panel, the faster it charges your batteries and runs your lumens lighting. In general, it's best to get a 12-volt solar panel and use two 6-volt batteries.
Most solar panels produce about 1 watt per square foot of surface area, so if you need to power a light that requires 5 watts, 2 square feet of solar panel will do the trick. [1 watt = 1 joule per second]
If you're powering a more significant light, use an even bigger panel. Just make sure your hookup wire is strong enough to carry the load of the batteries' current. [wire size = amps x volts and look at the DC rating]
Keep in mind that panels produce less power during rainy or cloudy days. So you can expect 25% less energy on a cloudy day and 50% less in heavy rain.
How to Connect Batteries
The batteries should be connected with copper wire in a series, which is best done with alligator clips. First, click the red pin to the positive terminal of one battery, then connect another red clip to the negative terminal of the second battery. Continue adding batteries until you're finished, then click the last red pin to the negative terminal of the final battery.
Ingenious Design Connects Solar Panels to Battery
Next, attach the positive wire from the panel to your first crocodile clip. Then connect the negative wire from the board to your second alligator clip. You may have noticed that an extra terminal was left on each battery and solar panel cable - this is so you can easily disconnect your outdoor bright solar lights system when it's time to store them away for the winter!
