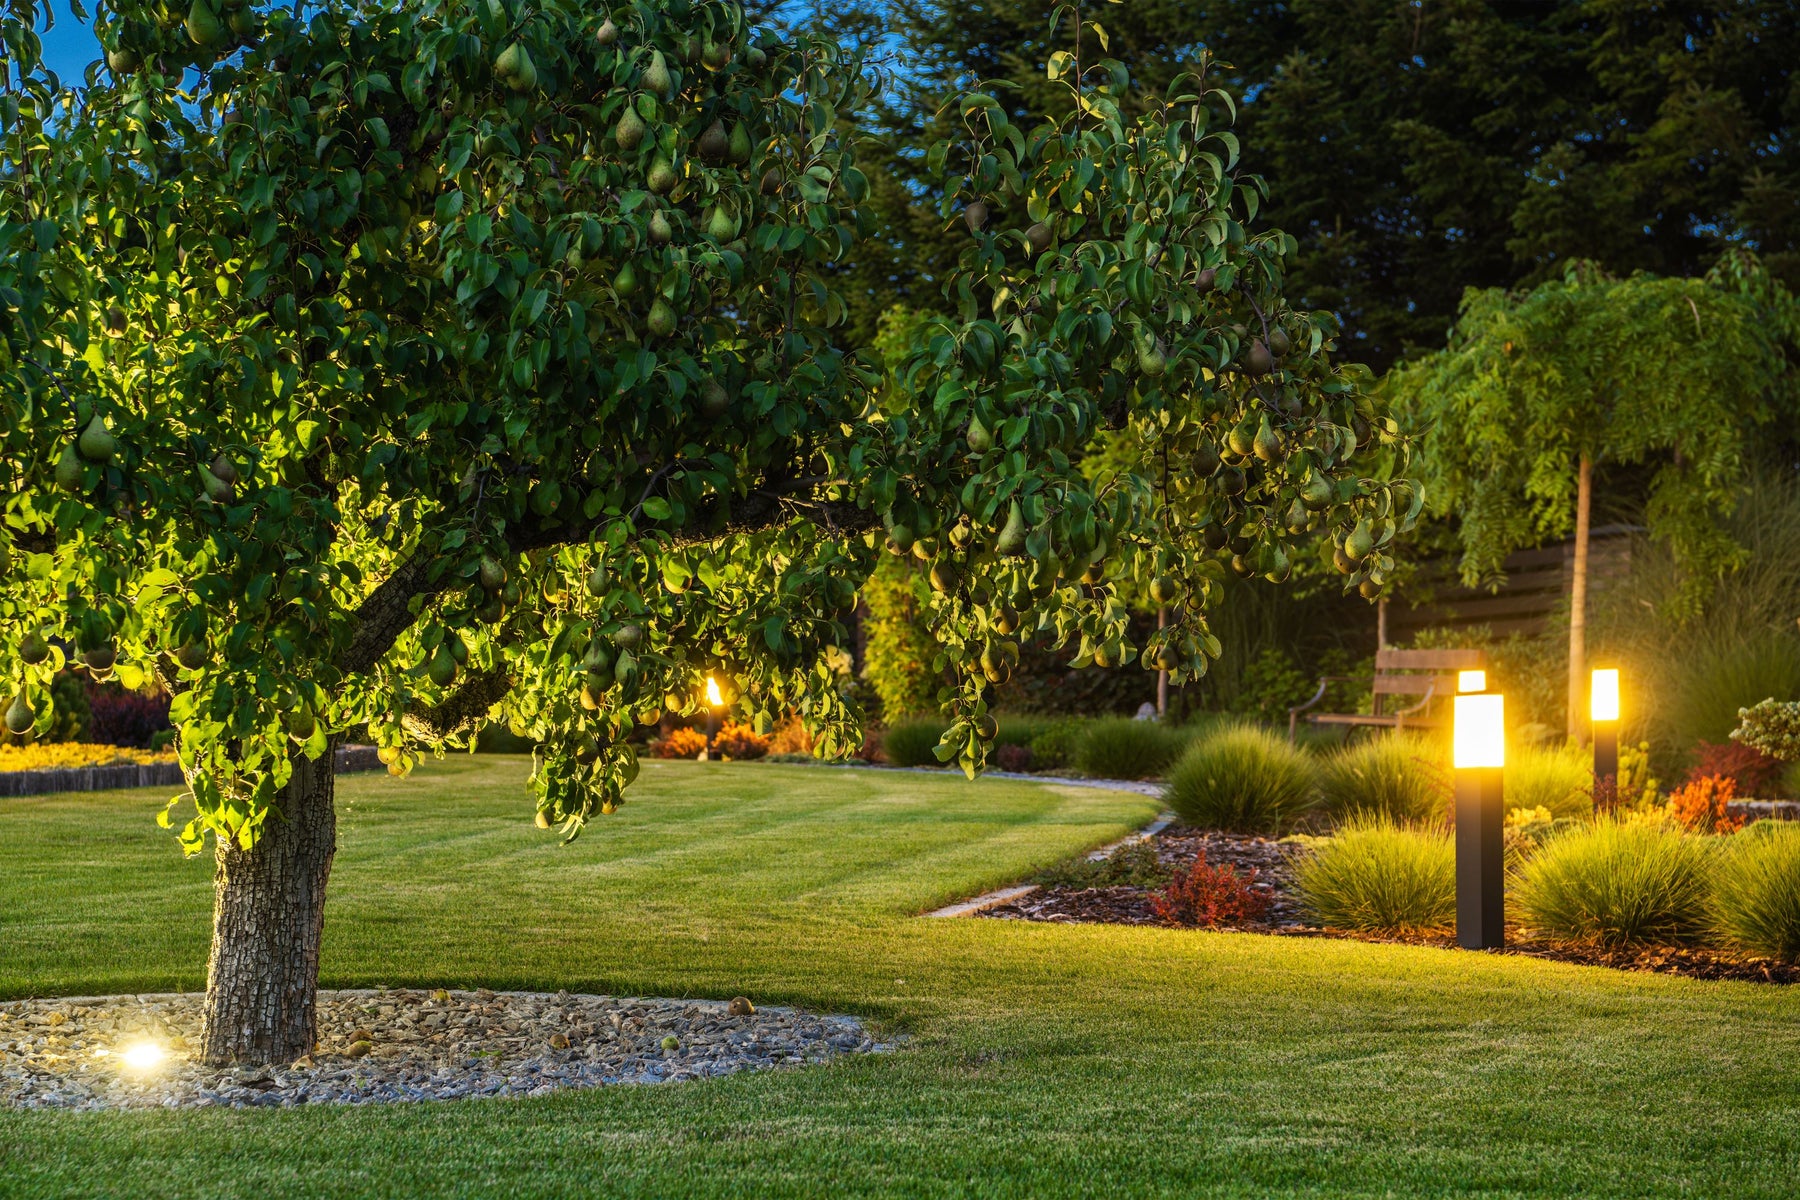
Tips and Tricks - How to Set a Landscape Lighting Timer
Do you frequently ask yourself how to set a landscape lighting timer? You're not alone! Most homeowners are in the same boat. Sometimes, it can be challenging to grasp, especially if you've never done it before. That's why we've put together this guide - to help make the process as simple as possible. If you want to know how to set your landscape lighting timer like a pro, read on for some tips and tricks!
Before you start, make sure to have all of the necessary materials with you. This includes your commercial bollard lights, a timer, and an extension cord (if necessary). After you've gathered all your supplies, it's time to start setting up your timer.
Choosing a location for landscape lighting

The first step in setting up a landscape lighting timer is to determine the location of the lights. This is crucial because you must find a place to install the lights safely. The ideal location is where plows and shovels will not damage the lights. You should also think about the type of plants in your yard and whether they would look beautiful lit up even when bare.
The installation process for landscape lighting is relatively simple. The most important aspect is choosing a location with plenty of sunlight. Ideally, the lighting should receive at least six hours of direct sunlight daily. It should also be away from trees or other obstructions. In addition, since landscape lighting systems are aimed at outdoor use, the wiring should be weatherproof and resistant to extreme temperatures.
After you select the best spot for your commercial bollard lights, it's time to get them set up. Then, after you've installed the lights, it's time to connect them to the timer.
Choosing an Intermatic Malibu timer

If you'd like landscape lighting that automatically turns on and off at a specified time, an Intermatic Malibu landscape lighting timed control is the perfect solution. This device can turn outdoor spotlights, security lights, and holiday light displays on and off. The timer lets you program different zones for different seasons and set different time intervals. You can adjust the timer's settings with the included markers or manually override them.
When choosing a landscape lighting timer, it's essential to know what settings you want. For example, if you want a soft glow, you can use a low-wattage setting. Otherwise, a higher-wattage device will create an even more dramatic effect. Another option is a timer that automatically adjusts to sunrise and sunset changing times.
Setting the timer
First, determine how long you want the lights to stay on to set the timer. Then, select the time for the timer to turn on. The next step is to choose the intervals at which you want the lights to turn on and off. Finally, set the time for the timer to turn off.
It's important to note that landscape lighting timers are designed for use with only 120-volt AC outdoor lighting fixtures. Do not attempt to use them with any other type of light fixture. Also, read all instructions before attempting to install or operate a landscape lighting timer.
Now that you know how to set a landscape lighting timer, it's time to get out there and enjoy your beautifully lit yard!
